Sunday, July 30, 2017

Mixed Media Fabric Lap Top Case

So excited to finally be able to share this project with you. It's been completed for a little while but only got delivered this weekend. Recently my niece asked if I would make her a lap top case - "Anything you make I love" ♥ So completely up to me for the design..... First a brainstorm - she absolutely loved my "On a Lark" fabric folder which I made a couple of years ago. 
This made me think that mixed media fabric book covers I've made would also be good inspiration : like this fabric bookwrap 
and I really love the cover I did for a friend's travel journal : Paris Book 
She is moving to Canada to study, so I wanted to theme my colours around NZ Paua shell - turquoise and purples - along with black and white, and I also wanted to use a variety of fabrics including sari ribbon, braid, ribbon, scrim etc. I took the measurements of her device and cut a large rectangle of black batting to make the cover AND a zipped case to hold her charger/earbuds etc. I won't line it, because the black will be nice and soft and I will stitch with variegated thread so even when you see the inside flap, it will look funky. Fun part - beginnings of gatherings ♥
This was my initial play and then I decided the black/white wasn't soft enough. I swapped them out for more creams and grabbed some more batiks. I included some extra meaningful fabrics like music, french language, and swirly sea...
Then I bonded iron-on interfacing to one side of the black batting and laid the fabrics down again before stitching with my signature free-motion swirl in variegated rayon thread on top with plain turquoise rayon on the back
Once stitched, I cut the large rectangle down to make the lap top cover, and the extra small rectangle will become an accessory pouch (earbuds, charger).
The swirly stitching left the edges unfinished - these will fray more with use and I hope she enjoys that. Click on any photo to see it larger
It's truly a mixed media piece. I printed the spots on some of the fabric above with metallic paint. After that initial stitched layer, I added other elements on top
To add the zipper to the accessory pouch I did a bit of a cheat and sewed it to the 2 edges using an ordinary seam (right sides together)
Then I added the edging stitch down each side. It worked just fine.
Then it was time to put the lap top case together. I used the same variegated thread to edge stitch
And I added a line of straight stitching inside the edge to reinforce those seams.
The main challenge was that with such a large button I had to find an alternative to my automatic buttonhole - the instructions HERE were very helpful.
Here are both the case and accessory pouch together
and some lovely close-ups 
I could have happily had this project continue to live on at my house, but I'm pleased to report it's been delivered, the device fits inside 
and she loves it ♥ I hope it accompanies her on many new adventures.

Saturday, July 29, 2017

Star Book class fun

A happy Saturday - taught my Star book class again today to a group of 9 creative and enthusiastic women. Always love to see the different interpretations people make. Here's my bin of goodies - I always share lots of supplies
I talked for a while - this is my demo table....
Then they quickly got stuck into creative deliciousness ;-)
Our youngest participant is 8 years old and loves unicorns ♥
Her book was on a larger scale than the rest and turned out beautifully
These are some other gorgeous examples of books finished on the day - I always end a day of teaching this class feeling inspired to make another myself!

And these are all well on the way with promises to email me when they are completed
So rewarding to share the joy of this project with others. I hope you are fitting some creative joy into your weekend as well.

Thursday, July 27, 2017

Daily Journaling Week 30

Trying to get myself back into getting these weekly journal prompts done by the middle{ish} of the correct week! I'm following the prompts of the original Documented Life 2014Week 30 : Add receipts, labels, business cards - smash books style!
And from the blog for Life Documented 2017 HERE : Theme: The road less traveled-traveling through life
Technique: Multiple Layering
Prompt: Add colorful strips of paper to your layout
Quote: "Every time I stand before a beautiful beach, its waves seem to whisper to me: If you choose the simple things and find joy in nature’s simple treasures, life and living need not be so hard". Psyche Roxas-Mendoza
Remember - prompts are jumping off points to help you make a page. You DO NOT have to follow them to the letter. I ended up going an unexpected way and didn't use the 2014 prompt about smash book style at all, nor the quote. Started by layering with various paints/sprays - my last few spreads have been very turquoise so trying to get away from that colouring
When I did the prompts for Week 21, I used a print of my Autumn Splendour face. I had also printed another background page when I did the spread for Weeks 24-25. I pulled the leftovers of both of these out thinking I could cut colourful strips of paper from my own art for use here. 
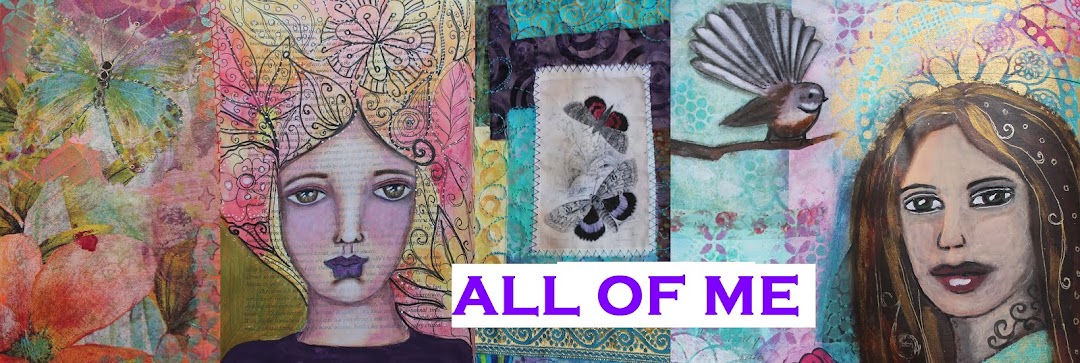
And then I saw the face and my brain started to work.... 
What if I created different flowers for her hair? Another way to layer is to add collage, so I decided to look through some old calendars I've saved and found this - "Glittered on every page" = SHINE
I chose this lovely 
and cut out the flowers and hair and did some different arrangements around my face
It was sooo much fun. Part of traveling through life is how you change and develop new practices. I have been doing a lot more writing in my Inner Work journal lately, and feel like this Daily journal is going to evolve into more art and less words as a consequence. I am quite happy for that to happen since I am capturing my days elsewhere. 
Here's that collage glued on the background with colourful strips from the other piece of art also added
They aren't quite the right colour of course - easily remedied with a glaze layer
Time to fulfil the multiple layering prompt by adding acrylic paint through various stencils on top of the strips and layers below
My face needed a bit of tending too for colour correction
I finished reading this book this past week 
I loved it and had to include a great quote from it to complete my spread "Imagine what could happen if we all had the heart to be who we truly are". Click on the photo to see it larger.
Hoping you get some lovely creative time this week. You can see all my posts about this project HERE and my Flickr album HERE.
Related Posts Plugin for WordPress, Blogger...