LB2016 : Zentangle butterfly
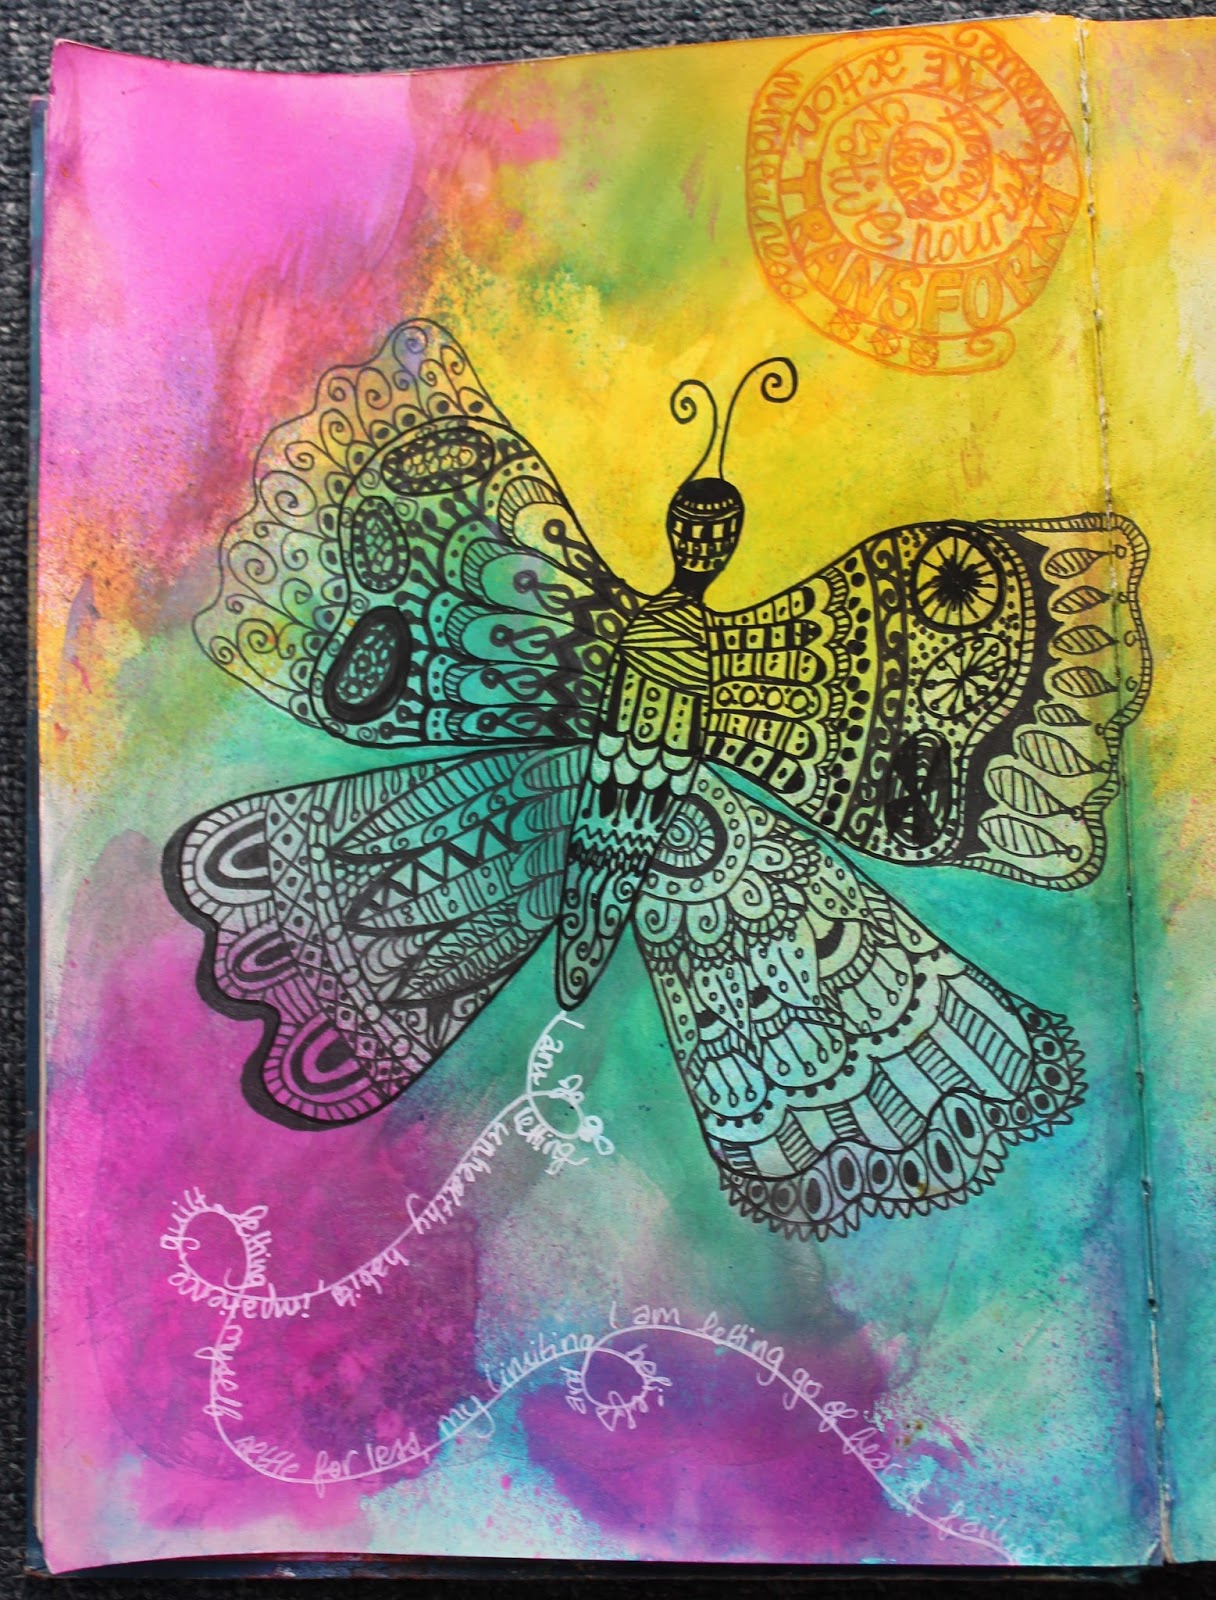
Because the 1st of January was so close to the end of the week, we've already had week 2's offerings for Life Book 2016 loaded as well (that's 4 lessons for my journal offered within 5 days!). I am not worried about necessarily doing the lessons in order and since I want to get started on my daily journaling, I decided to do this butterfly next because I can spread the inky background across my entire spread. I used a mixture of dylusions sprays and Daler Rowney ink. Click on any photo to see it larger.
Here's my butterfly with zentangle patterning.
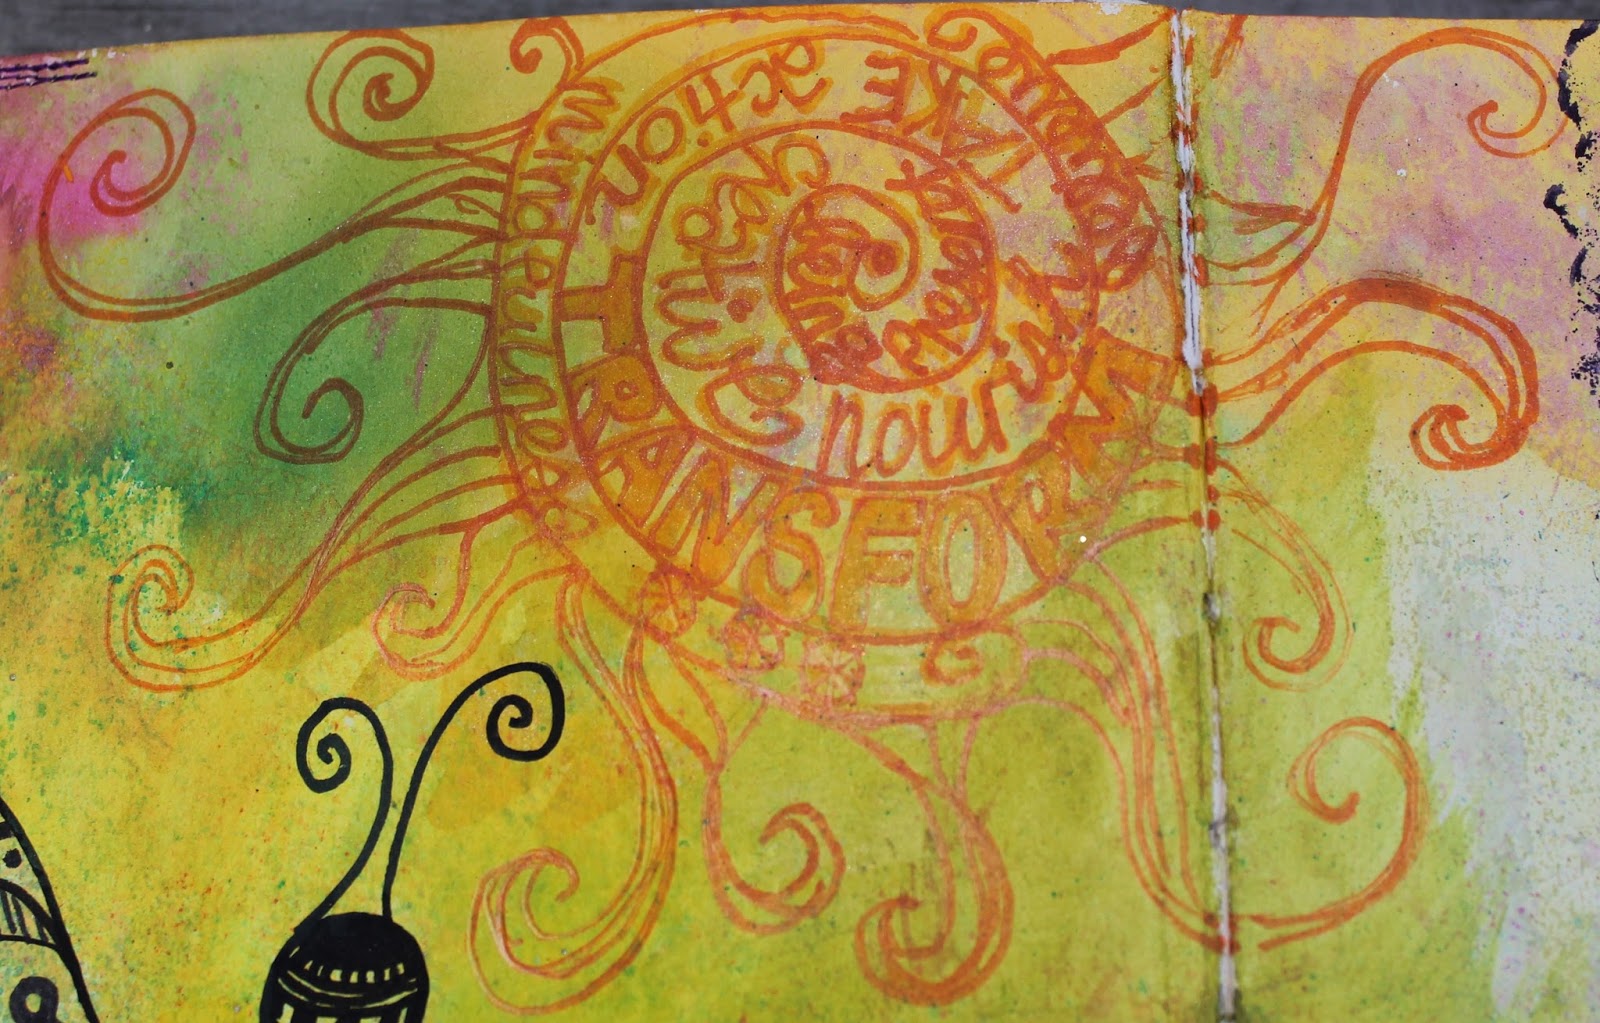
I started with a black Posca paint pen on the butterfly's body, but it ran out. My Pitt brush pen was too wide, so I went with my Fude pen, which has not produced as black a line as I might have liked - may be that the pearlescent Daler Rowney ink I used in part of my background reacted with it. Anyway - I'm not going over it again - just calling this part of my learning, and the process was meditative, relaxing and fun. Time to add a sun with words that I want to embrace this this year - I started with a copic marker, but decided to add a sharpie for more definition - here I am part way through that. And there's my word again :-)
We also had a trail from the butterfly of things we want to leave behind, and this was the end of Tam's instructions for the lesson.
When I left it like that last night, I knew I needed to add "something else". This morning I added to the sun
I had started by leaving a spread between this and my last page in case there was any bleeding from the ink. Fabulously there wasn't so I won't need to be so careful about that aspect next time. The up side was that I needed to glue those pages together, and that reminded me that I had wanted to add stitched edges at times. This was just the touch to make me happy
and it added texture to the back side of the page which I enjoy
Unfortunately the bottom of these pages wasn't very well held together, and I had ignored it thinking it would be okay, but holding the book open to guide it under the sewing machine pulled it just a bit too far apart.
I used gel medium to make sure the washi tape adhered well, and I really like the look of the complete page. Love how "problems" can lead to an even happier outcome.
Click on the photo to see it larger, or go HERE to see my Flickr album of all my Life Book 2016 projects. You can see all my posts about Life Book this year HERE.


You're so quick with this lesson! I haven't even had a chance to watch the video yet, but I know I'll love it! This looks like something straight up your street and you most definitely did a wonderful job with it! Can't wait to have a go myself!
ReplyDelete